When .NET Core was announced, the most exciting thing for me was always the fact I could host things I wrote in C# on Linux machines. The possibilities were huge! Then Docker came along, and being able to host containerised copies of my code interested me.
Today I present how to quickly get a .NET Core WebAPI project up and running in Docker, and in this example - hosted on Heroku.
Why would you want to do this, you ask? Maybe you want to test an idea, and Heroku is quite generous in their free hosting plans. When you build it on your machine, you can quite easily then push it to your host and know it will be exactly the same as your copy.
Building a Quick .NET Core WebAPI Project
Firstly, have you got .NET Core installed? If not, head on over to https://www.microsoft.com/net/download/ and grab the .NET Core SDK for your machine. These days you can do this on Windows, Linux or macOS which is fantastic!
Once that is all installed, it’s time to spin up a project! Open up a console and get typing:
dotnet new webapi -o HelloWorld
It will then generate you a basic HelloWorld ASP.NET WebApi project. Now if we look at the source for this project, we will see that there is a one controller called ValuesController.
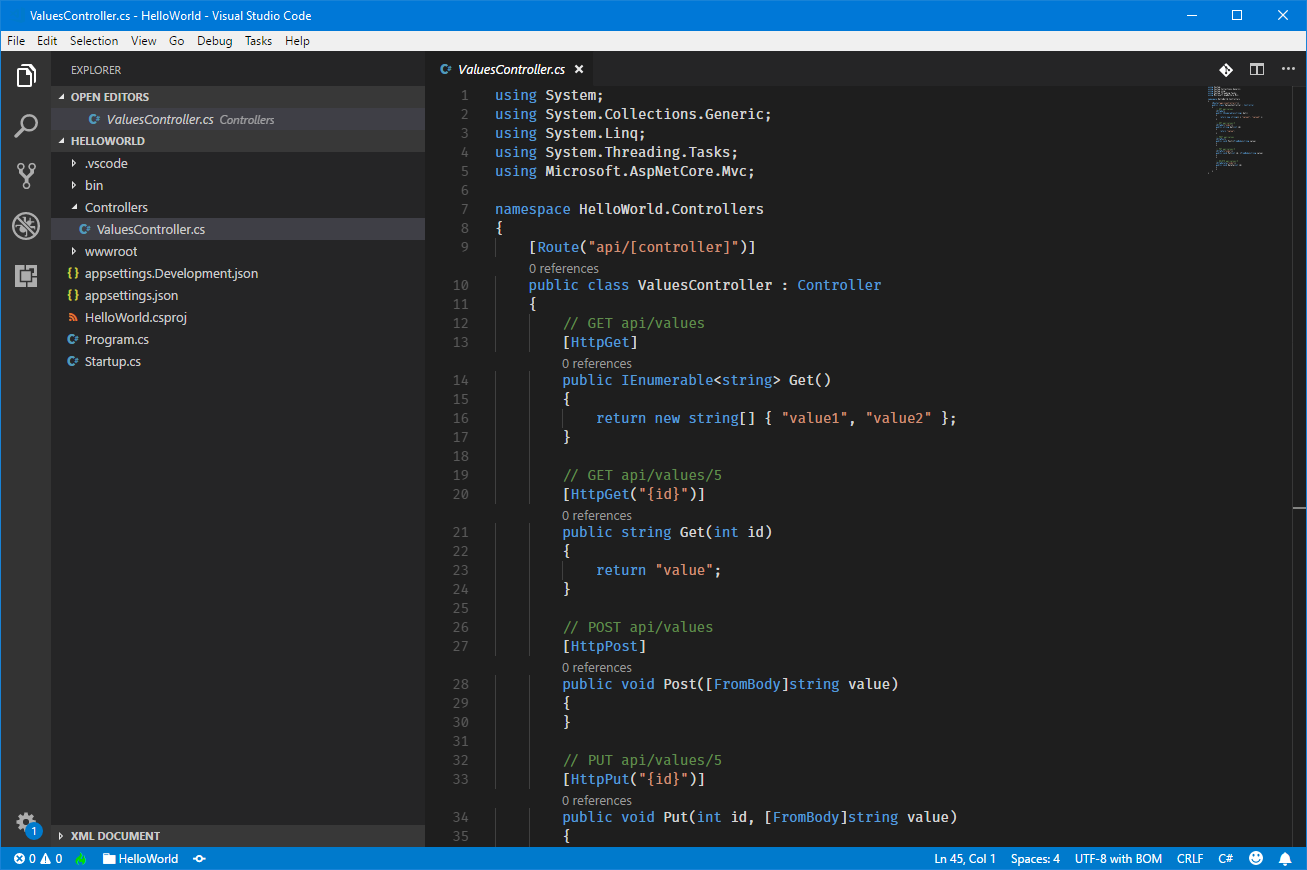
As we can see, we should be able to call the /api/values/ method and have some values returned. We can run an instance of this project using the following command:
dotnet run --project HelloWorld
It will tell you the application has started on port 5000, so test it is running correctly by going to http://localhost:5000/api/values/.
Allowing Your WebAPI To Be Configured At Runtime
Now it is time to get our WebAPI project ready for Docker! If you don’t know what Docker is, read this article entitled What is Docker?. To get our WebAPI set up, we want to make sure we can specify what port to expose at runtime through a command line argument.
To do this, we update the BuildWebHost method to support passing through command arguments. Update your BuildWebHost method in the Program.cs to be the following:
public static IWebHost BuildWebHost(string[] args)
{
    var config = new ConfigurationBuilder()
        .SetBasePath(Directory.GetCurrentDirectory())
        .AddCommandLine(args)
        .Build();

    return WebHost.CreateDefaultBuilder(args)
        .UseConfiguration(config)
        .UseStartup<Startup>()
        .Build();
}
This means we can now set the port upon load by passing through a urls parameter. Let’s quickly do that by loading up the project on port 12345. You will see the results at http://localhost:12345/api/values.
Setting Up Your Docker File
So we have our Web API ready, next up is getting it all packaged up in a Docker container. We will use a trick I have seen before - you set up a build image to do the compilation in, and then you do a runtime image to have only the things you need to run your application in. The benefit to this is you get a leaner image.
Add the following below to a file named Dockerfile (no extension) in the root directory:
FROM microsoft/dotnet:2.1-sdk AS build-env
WORKDIR /HelloWorld

# Copy csproj and restore as distinct layers
COPY *.csproj ./
RUN dotnet restore

# Copy everything else and build
COPY . ./
RUN dotnet publish -c Release -o out

# Build runtime image
FROM microsoft/dotnet:2.1-aspnetcore-runtime
WORKDIR /HelloWorld
COPY --from=build-env HelloWorld/out .

CMD dotnet HelloWorld.dll --urls "http://*:$PORT"
Now we have our Dockerfile, we can test it. If you don’t already have Docker installed, go ahead and install Docker. Open up the Docker QuickStart Terminal and navigate to your project. Build it with the following:
docker build .
It takes a litle while to get going if you have never done this before, but eventually after a bunch of stuff gets logged in your console you’ll end up with a message saying successfully built.
Pushing your container to Heroku
Before we begin with Heroku - have you signed up to Heroku? If not, go sign-up for Heroku. Then, make sure you have the Heroku CLI installed from https://devcenter.heroku.com/articles/heroku-cli. We need this so we can set up our app and deploy from the command line.
To create a new app on Heroku, we can use the following:
heroku create
Woohoo! You will be given a randomised name for your app - for me I got protected-oasis-74796. Now we need to push our container. We will specify that the container we are using is designated to have a process type of web.
heroku container:push web -a protected-oasis-74796
Once that has been pushed, we can then release the image, meaning make it available to the web.
heroku container:release web -a protected-oasis-74796
If you have done this, you should now be able to access your WebAPI by the provided app’s url - for me it is now accessibile at https://protected-oasis-74796.herokuapp.com/api/values.
Voila!
Now you’re cooking with Heroku.
You can download my code example from Github.